
Learn how to change the status of zones, as well as what each status means.
Zone Status Levels
Genasys has multiple zone status levels that can be used to inform and instruct communities during an incident. Each status has a corresponding message and color depending on location.
California and Colorado Statuses
| Status | Color | Description | |
|
EVACUATION ORDER |
Red |
|
Immediate threat to life. This is a lawful order to leave now. The area is lawfully closed to public access. |
|
EVACUATION WARNING |
Yellow |
|
Potential threat to life and/or property. Those who require additional time to evacuate, and those with pets and livestock should leave now. |
|
SHELTER IN PLACE |
Purple |
|
Go indoors. Shut and lock doors and windows. Prepare to self-sustain until further notice and/or contacted by emergency personnel for additional direction. |
|
ADVISORY |
Blue |
|
Be on alert and follow county recommendations. |
|
EVACUATION ORDER LIFTED |
Light Green |
|
It is now safe to return to your home. Be aware of your surroundings. |
|
NORMAL |
White |
|
No current knowledge of active public safety incidents affecting your area. |
|
TRAINING |
Dark Green |
|
Emergency personnel training. No response necessary from residents. (Can also be used for virtual evacuations, such as when testing the Community Warning Systems.) |
Oregon Statuses
| Status | Color | Description | |
| EVACUATION LEVEL 1: BE READY | Light Green | Prepare to evacuate, and have your plan and go-kit ready. Seniors and people with disabilities should take action. | |
| EVACUATION LEVEL 2: BE SET | Yellow | Be set to evacuate at a moment’s notice. You are in high danger in your area so follow your evacuation plan and relocate to a safe place. | |
| EVACUATION LEVEL 3: GO NOW | Red | LEAVE IMMEDIATELY without delay! There is imminent danger in your area and it is unsafe to stay. | |
|
SHELTER IN PLACE |
Purple |
|
Go indoors. Shut and lock doors and windows. Prepare to self-sustain until further notice and/or contacted by emergency personnel for additional direction. |
|
NORMAL |
White |
|
No current knowledge of active public safety incidents affecting your area. |
|
TRAINING |
Dark Green |
|
Emergency personnel training. No response necessary from residents. (Can also be used for virtual evacuations, such as when testing the Community Warning Systems.) |
Note: The Training status functions differently than the other six statuses. For more information, consult the Training section of this article.
Updating Zone Status
When an incident occurs, EVAC users can update the status of the impacted zones to reflect real-time changes and data. This ensures communities are always receiving the most up-to-date and accurate information.
Note: Only EVAC users with Alerter privileges can update the status of zones. To be an Alerter, you must have Editor or Administrator access.
To update the status of one or more zones, perform the following steps.
Step 1 Log into Genasys EVAC using your credentials.
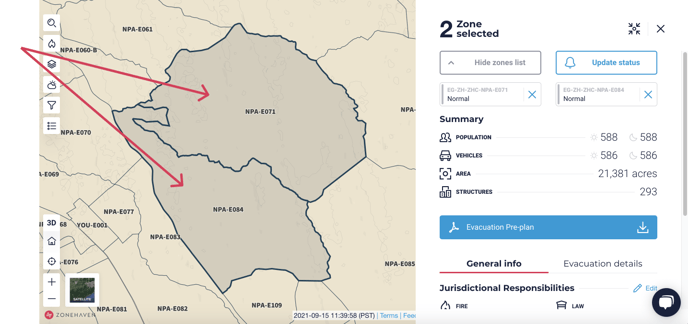
Step 2 Select the zones that need to be updated. The selected zones will appear in the 'Zone Details' panel on the right side of the page, along with their current statuses.
Step 3 Click the ‘Update Status’ button in the upper-right corner.
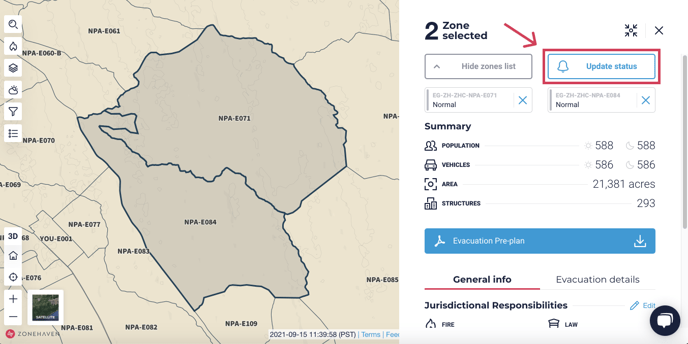
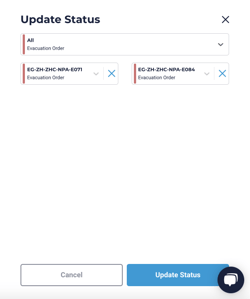
This will open the ‘Update Status’ window in the side panel.
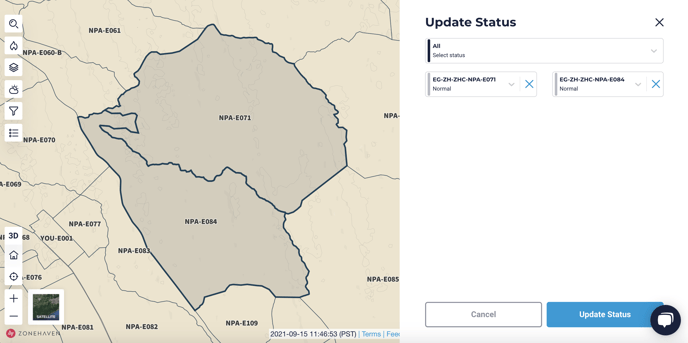
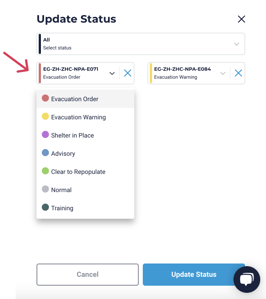
Step 4 Click on the desired zone to open its drop-down menu. Select the new status from the menu. Once all statuses have been updated press ‘Update Status’ in the bottom right corner.
If updating multiple zones at once, there are two different options to update the status.
1. Use the ‘All’ drop-down menu: Users can update all selected zones to the same status at once using the ‘All’ menu.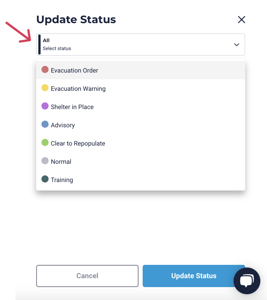
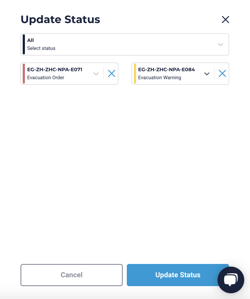
2. Use each zone’s unique drop-down menu: Users can update the zones independently by using each zone’s unique menu. This allows users to set different statuses for each individual zone while publishing all the changes simultaneously.
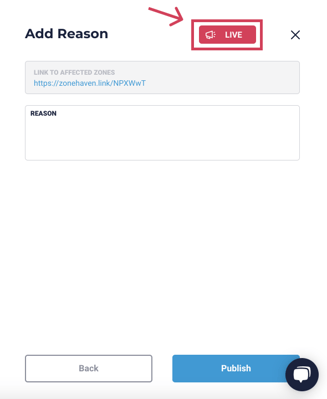
Step 5 In the ‘Reason’ text box, enter the reason for the status change. This reason will appear to both EVAC and community users who check the status of the affected zones. After entering the reason, click the ‘Publish’ button in the bottom right corner.
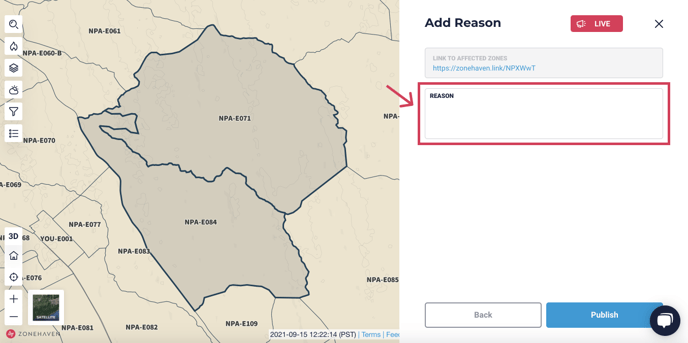
Users can copy, save, and share the link that appears in this window. When opened, this link goes directly to the selected zones on the Genasys Protect community site. (The zones will not show the new status until the updates are published in Step 6, so if clicked at this stage, it will center the screen on the selected zones but will not reflect the updated status.)
The ‘LIVE’ icon in the top right corner indicates that the update will be sent to Genasys Protect, Waze, and the relevant County Email Group.
Step 6 After clicking ‘Publish’, the following window will appear on the screen. This window shows where the status update will be visible and who will be notified. Click the red ‘Publish’ button to make the status update official.
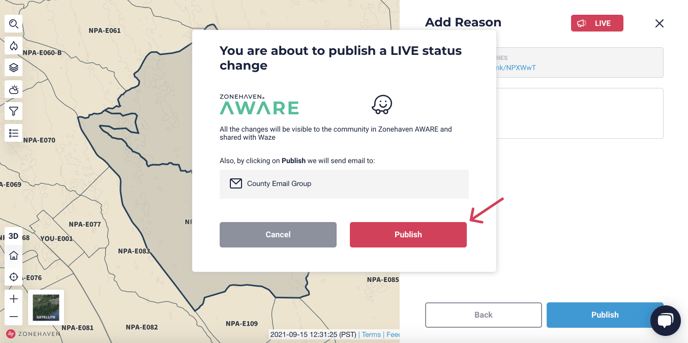
Publishing the zone status change does NOT initiate a mass notification to the public. That must be done through a separate process unique to each county to alert the public of a status change through the Community Warning System.
Step 7 After clicking ‘Publish’, the following window will appear in the right side panel. This window contains two different buttons that can be used to share the update on social media and other notification platforms.
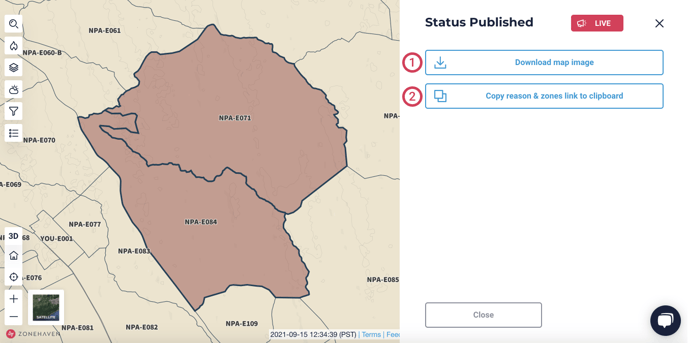
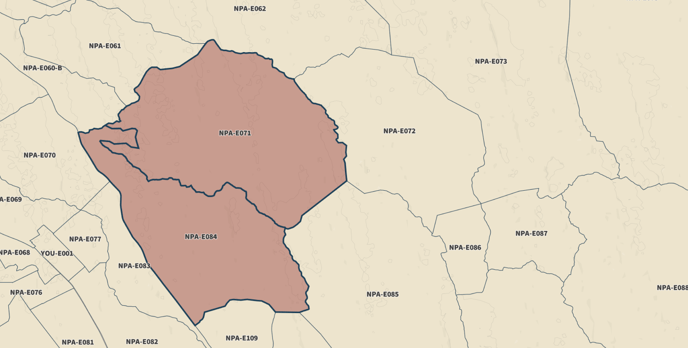
- The 'Download map image' button downloads a .png file of the map framed in your browser window (including the portion of the map behind the side panel). This image can be easily shared on social media or in a press release without having to take a screenshot.
- The 'Copy reason & zones link to clipboard' button automatically copies the text from the 'Reason' box and the link to the affected zones in the community site. When pasted elsewhere, they will appear as follows:
Reason : Test
Link to affected zones : https://zonehaven.link/NPXWwT
The reason will reflect whatever you put in the 'Reason' box, and the link generated is unique to each status update. This allows you to easily copy and paste this information into any type of notification. When pasted in a browser, the link will take you directly to the affected zones in the community site.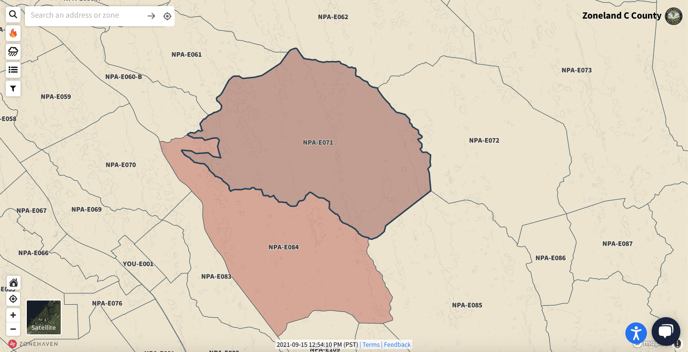
Step 8 Click the ‘Close’ button in the bottom left corner of the task bar. The zone status update is complete.
Training
The ‘Training’ status is designed for use in training drills. The status will be visible in Genasys Protect, but it will not be sent to Waze. An email will be sent to the person who made the update, as well as the pre-defined County Email Group.
Using the 'Training' status follows the same steps listed in the Updating Zone Status section above with a few minor tweaks, which are listed below.
- When performing Step 4, make sure to set the new status to ‘Training’.
- When performing Step 5, make sure to include the words “training,” “test,” or "drill" in the reason for the status change. This will provide an extra layer of assurance to the community that the status is nothing to worry about.
- In the ‘Add Reason’ window, in the top right corner there will be a gray icon that reads ‘TRAINING’. This indicates that the status update will not be shared with Waze.
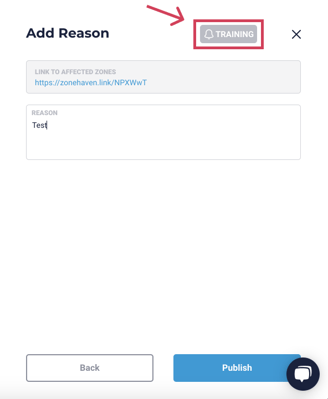
- In the ‘Add Reason’ window, in the top right corner there will be a gray icon that reads ‘TRAINING’. This indicates that the status update will not be shared with Waze.
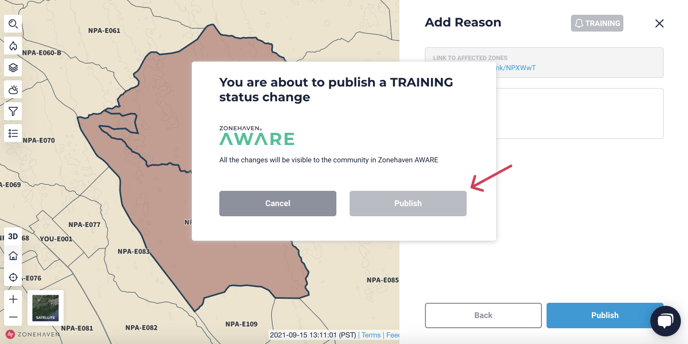
- After clicking ‘Publish’ in the ‘Add Reason’ window, the following window will appear to again indicate that this will be a training status change and that no notifications will be sent to Waze.
This change will appear in Genasys Protect once the ‘Publish’ button is clicked. Using the link provided (like when updating to any other status) will take you directly to the affected zones on the community site.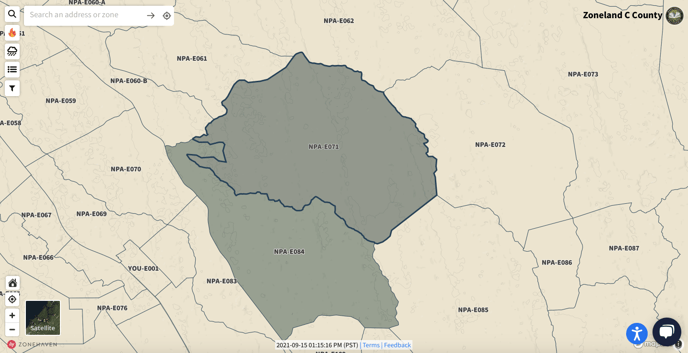
If you have any questions, please reach out to support@genasys.com.