EVAC Editors can
- Add road closures
- Activate/publish road closures (to be visible on the Genasys Protect community website and mobile app)
- Remove/delete road closures
by following the steps below.
Add Road Closures
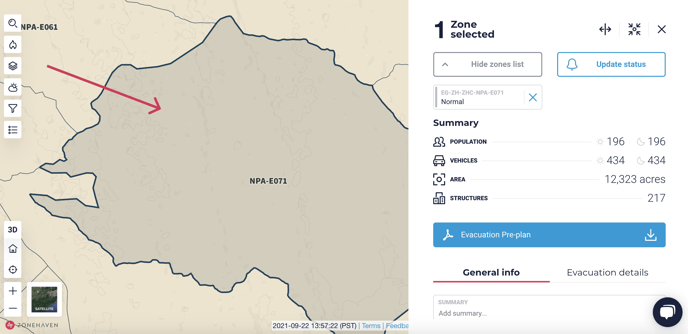
- Select a zone impacted by the Road Closure. More than one zone can be selected if you wish.
- Select “Evacuation Details” in the right panel and then open up the “Traffic Control Points” section.

- Select “Add” to add a new Traffic Control Point.
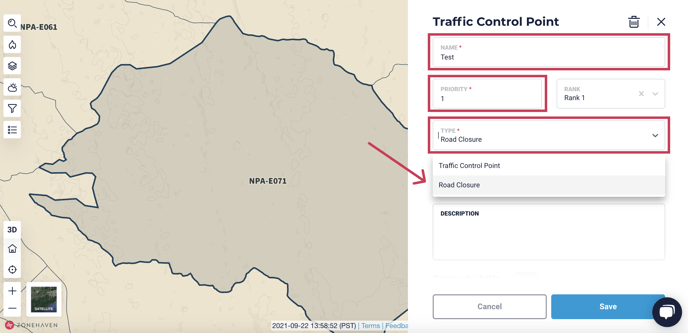
- Name the Road Closure. Select "Road Closure" from the Type drop-down menu.
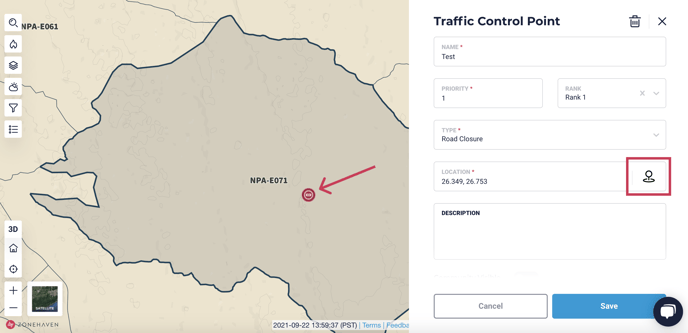
- Drag/Drop the marker to the appropriate location on the map.
- Provide additional details such as start/end locations of the road closure, whether it’s a hard or soft closure, or any other stipulations in the Description section.
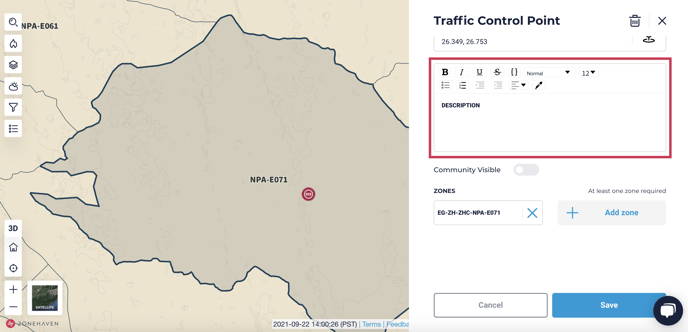
- Once completed, select “Add.”
Activate/Publish Road Closures
Road Closures are only visible to EVAC users until published to the Genasys Protect community site.
To share the Road Closure marker with the community:
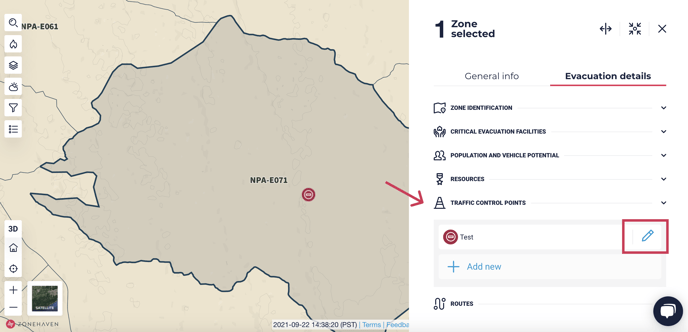
- Select the zone where the Road Closure is located and open the Evacuation Details tab in the side panel. Open the drop-down for Traffic Control Points and click the pencil icon next to the Road Closure you would like to make community visible.
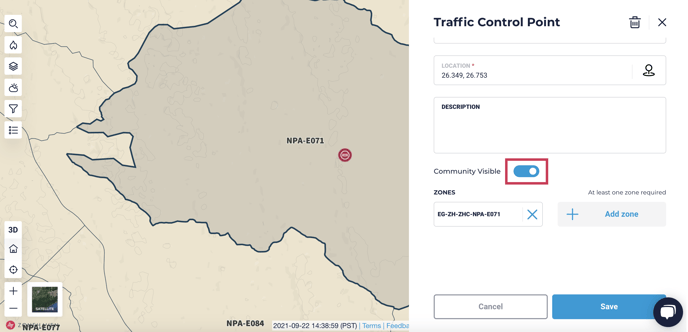
- Toggle the “Community Visible” slider to the on position and click Save.
OR
- Select the Road Closure marker on the map and click the Edit button in the pop-up window.

- Toggle the "Community Visible" slider to the on position and click Save.
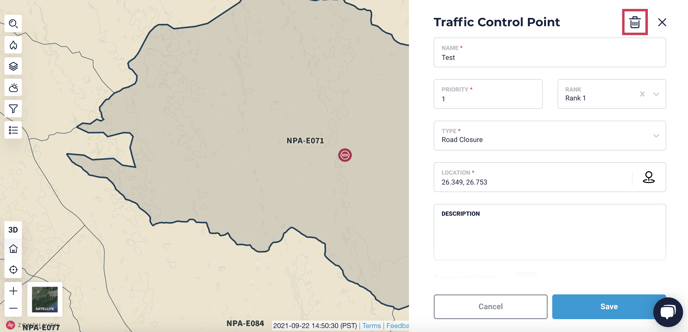
Remove/Delete Road Closures
When a road closure is no longer needed, EVAC Editors can open the Edit panel for the Road Closure and:
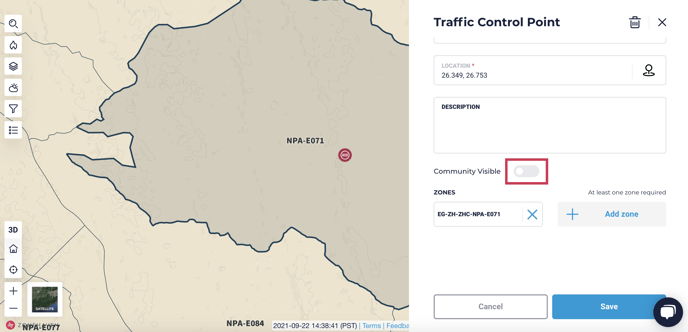
- Toggle the community visibility to the off position to remove it from the Genasys Protect community site.
OR
- Delete it from both the EVAC and community sites by clicking the trashcan icon in the upper right of the side panel.