Learn how to create and look up radius simulations for multiple types of incidents in this guide.
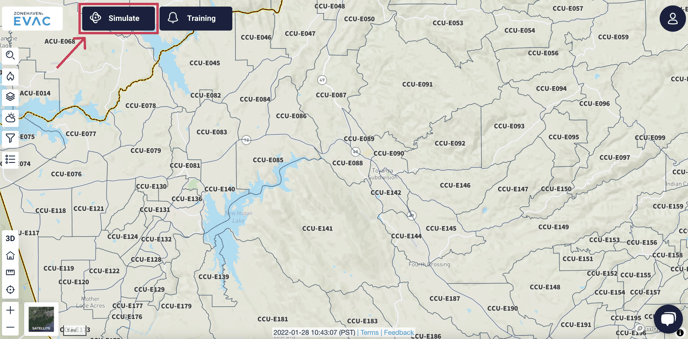
To run a radius simulation, go to Genasys EVAC and click the Simulate button at the top of the screen.

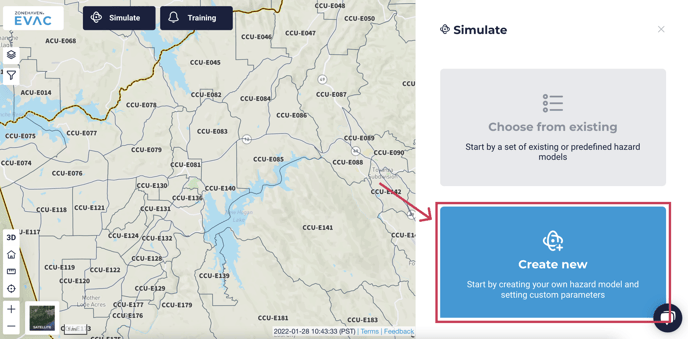
Select the Create new option from the right side panel to start a new simulation.

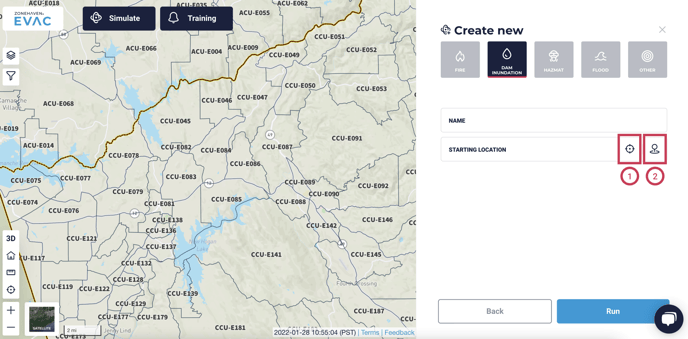
From the options along the top for the types of simulations, select Dam Inundation, Hazmat, Flood, or Other. (All of these types of simulations currently use the same radius model.) Name your simulation and select a starting location using the current location option (1) or drag and drop pin (2).

The location will be designated with a blue icon. Once both the name and starting location have been filled in, the radius specifications will open under the fields.

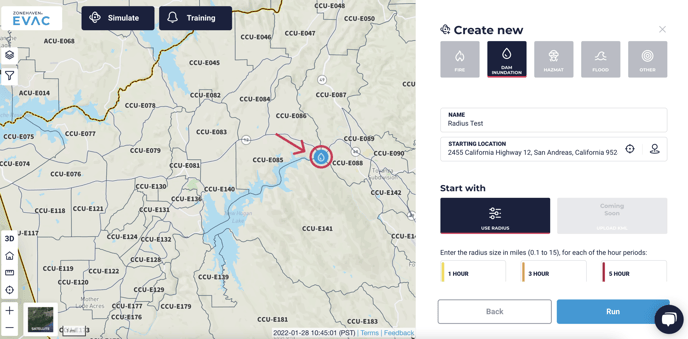
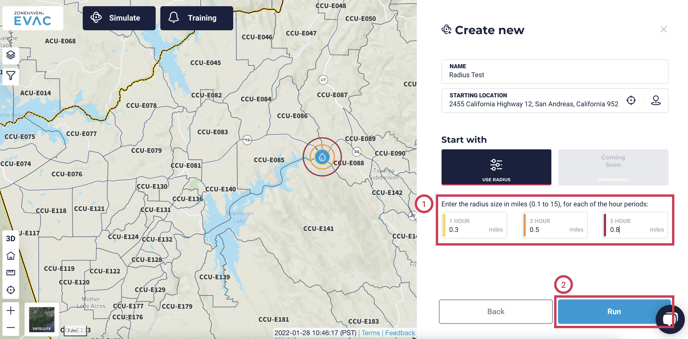
Fill in the desired radius (1) of the affected area at 1 hour, 3 hours, and 5 hours. The units are in miles, and can be between 0.1 and 15.
When you have filled in the desired radius for each hour, click ‘Run’ (2) to start the simulation.

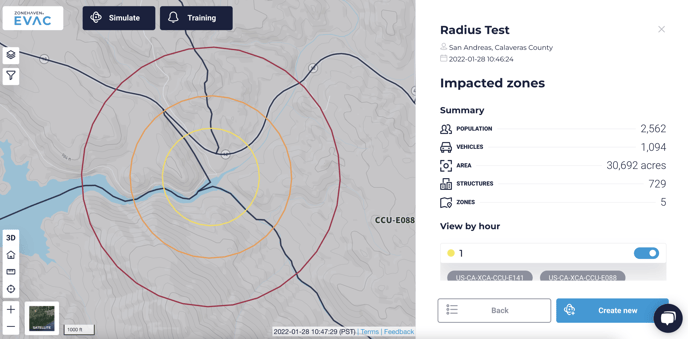
Once the simulation has completed, you will be given a summary of the impacted zones with the total population, vehicles, area, number of structures, and number of zones impacted by your simulation. This information is the sum of those data points for each impacted zone, not the area included in the simulation itself.

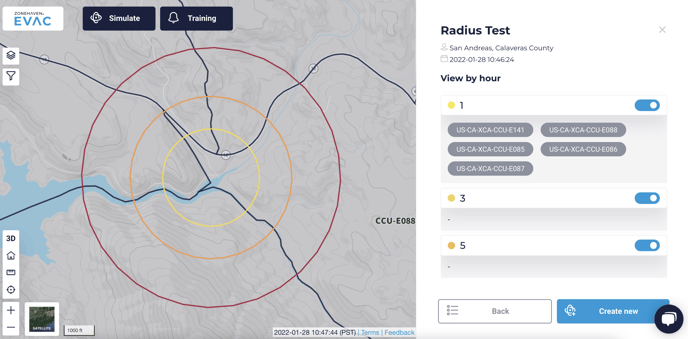
Under the summary will be a breakdown of the simulation at each interval. Each impacted zone will appear under the hour in which it became impacted. When you have finished reviewing your simulation, you can either click Back, which will take you to the list of all your simulations, or Create new to run another simulation.

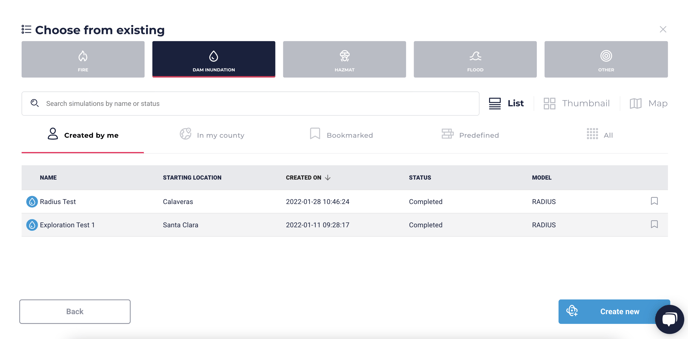
From the list of your previously-run simulations, you can see all simulations you’ve run in the past broken down by simulation type. You will see the name, county, date it was created, status, and model for each simulation. Clicking on any of the simulations in the list will allow you to view it again.

